
How to Crimp Battery Cable Lugs: Tool, Cable Size and Pull Test
Which lug fits which cable, which die belongs to which lug, how many crimps it takes and how to check the result, with values from Klauke, UL 486A and ABYC E-11.
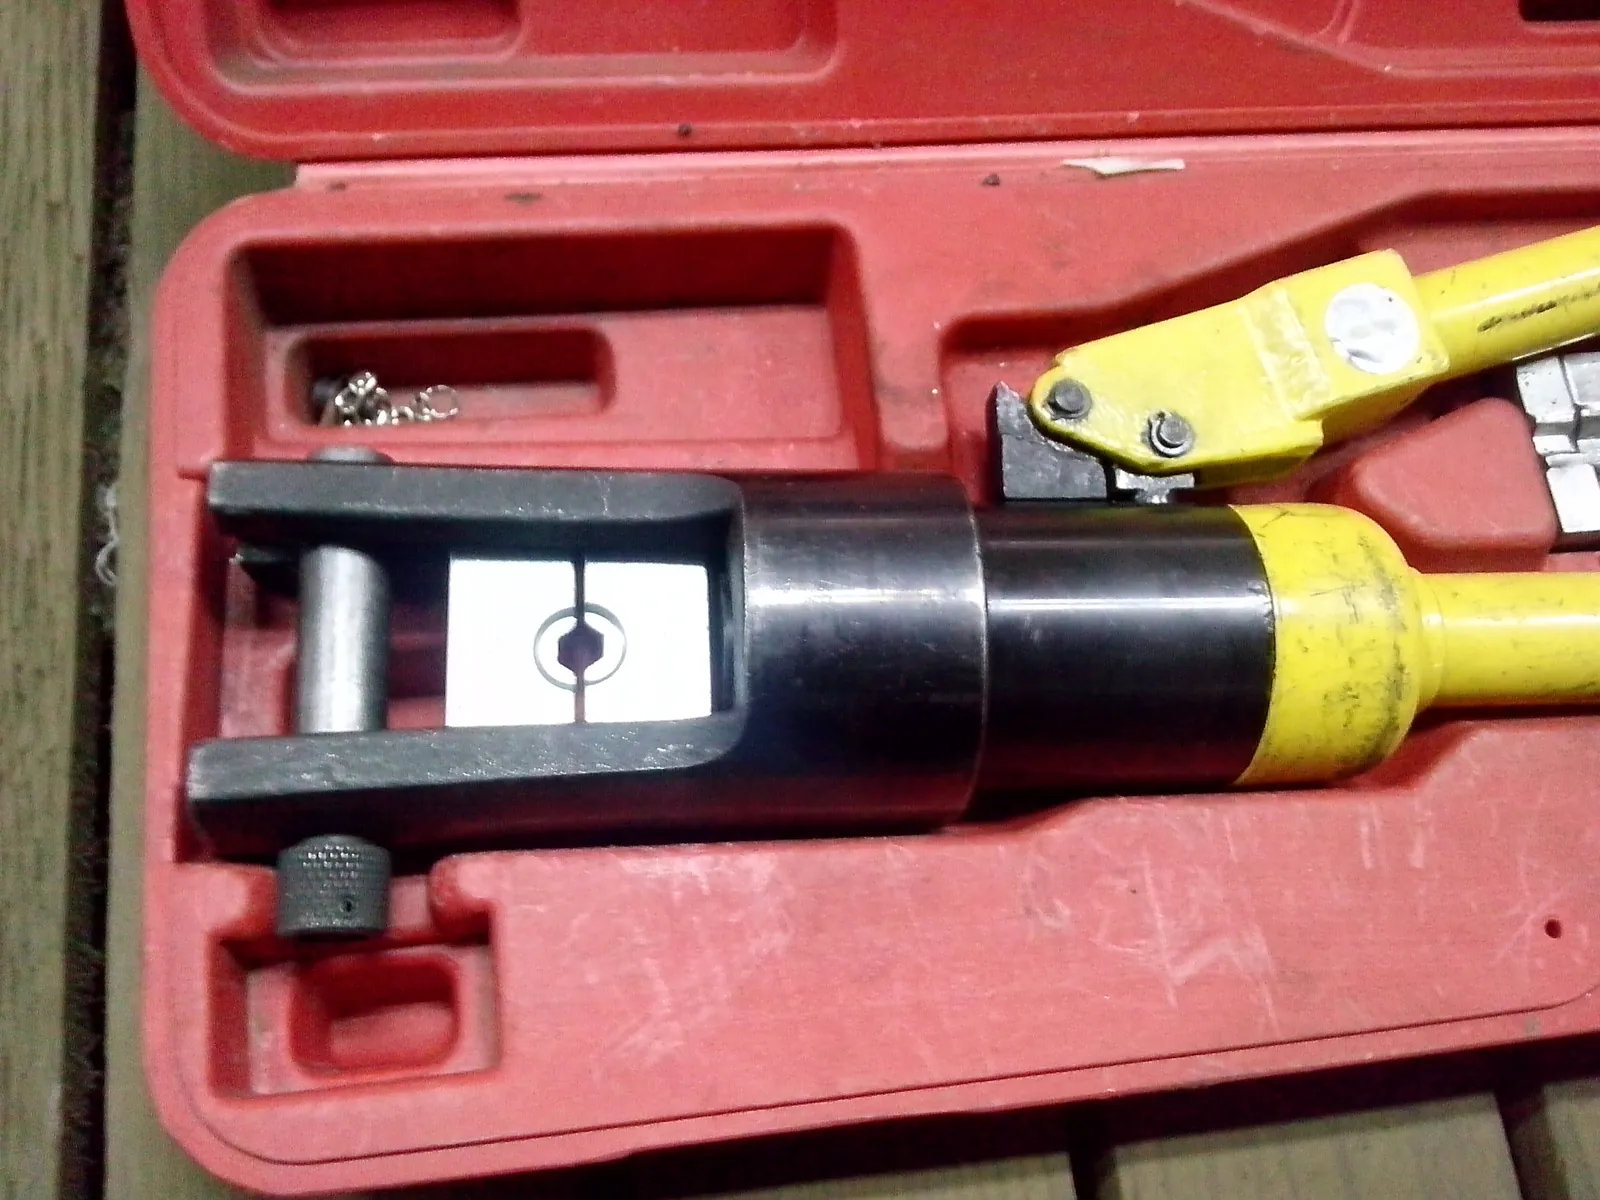
Every battery cable ends in a lug, and every lug is a joint that carries the full current of the circuit. For an inverter, that can be well over 150 A. A lug crimped with the wrong die, or not crimped hard enough, can look fine on the day you fit it. Klauke, a German maker of lugs and crimp tools, warns that badly matched crimps raise the contact resistance and the temperature of the joint, in the worst case enough to start a fire.
This guide shows how to match lug, die and tool to the cable, how to crimp in the right order and how to check the result. It is a researched guide, not a hands-on test. The values come from the Klauke catalogue 2026, Klauke's technical guide to crimping, Victron's Wiring Unlimited book, the UL 486A standard and the ABYC E-11 standard for boats; the sources are listed under the table.
The short version
- Lug, die and tool belong together. Klauke recommends lug, connector and crimp tool from one manufacturer, so that the parts are made for each other.
- The lug fits the cable and the stud. The barrel matches the cable cross-section, the hole matches the stud, for example M8.
- The die fits the lug. At Klauke, dies for DIN 46235 compression lugs carry a code number, dies for standard tubular lugs a cross-section. Mixed up, they give a crimp that is too loose or too hard.
- Strip a little longer, crimp from the palm. Strip about 10 % more than the barrel depth, start at the palm end and close the dies completely on every crimp.
- Check before you insulate. The code must be clearly embossed, there must be no sharp burr, and a firm pull must not move the cable. Then heat shrink goes over the barrel.
Before you crimp: cable, lug type and stud
Cross-section first. The lug follows the cable, so the cable size has to be right before anything else. Our wire gauge guide and the wire gauge calculator give it from current and length.
Conductor class. EN 60228 sorts copper conductors into classes: class 2 is multi-stranded, classes 5 and 6 are fine and extra-fine stranded. Flexible battery cable is usually class 5 or 6; the cable's data sheet says which. The class decides the lug type. Klauke names:
- Compression lugs to DIN 46235 for classes 1, 2, 5 and 6, from 6 to 1,000 mm² and for studs from M5 to M20.
- Standard tubular lugs mainly for multi-stranded class 2 conductors. Klauke approves its standard tubular lugs for fine-stranded cable only in combination with certain crimp tools.
- Crimp lugs to DIN 46234, bent from copper sheet and soldered, for classes 2, 5 and 6. They are crimped with an indent (mandrel) crimp, not with a hexagonal one.
Stud size. The hole in the palm has to match the stud you are bolting to. Klauke makes its 35 mm² DIN lug with holes from M6 to M14, so buy the one for your stud, not the nearest one in the box.
AWG and mm² are not the same sizes. 2 AWG is 33.6 mm², not 35 mm², and 1/0 AWG is 53.5 mm², not 50 mm². Buy lugs for the size printed on your cable.
Tinned copper. Klauke's DIN and tubular lugs are tin-plated electrolytic copper; the tin protects against corrosion. ABYC E-11 requires studs, nuts and washers that are corrosion-resistant and galvanically compatible with the conductor and lug, and rules out aluminium and unplated steel. All values in this guide apply to copper conductors.
Lug, die and pull-out force by cable size
| Cable | Nearest AWG size | Klauke DIN 46235 lug for an M8 stud | Die code | Crimps with 5 mm dies | Klauke mechanical tools for DIN lugs | UL 486A pull-out force for the nearest AWG size |
|---|---|---|---|---|---|---|
| 16 mm² | 6 AWG (13.3 mm²) | 103R8 | 8 | 2 | K05D, K06D | 100 lbf (445 N) |
| 25 mm² | 4 AWG (21.2 mm²) | 104R8 | 10 | 2 | K05D, K06D, K09D | 140 lbf (623 N) |
| 35 mm² | 2 AWG (33.6 mm²) | 105R8 | 12 | 2 | K05D, K06D, K09D | 180 lbf (801 N) |
| 50 mm² | 1/0 AWG (53.5 mm²) | 106R8 | 14 | 3 | K05D, K06D, K09D | 250 lbf (1,112 N) |
| 70 mm² | 2/0 AWG (67.4 mm²) | 107R8 | 16 | 3 | K06D, K09D | 300 lbf (1,334 N) |
| 95 mm² | 3/0 AWG (85.0 mm²) | 108R10 (M10 stud) | 18 | 4 | K06D, K09D | 350 lbf (1,557 N) |
Sources: Klauke catalogue 2026 (English edition), pages 1.42 and 1.43 (compression cable lugs to DIN 46235), 1.54 (tool application chart), 2.19 to 2.21 (K05D, K06D, K09D) and i-10 in the technical appendix (number of crimps); Klauke Fachwissen "Verbindungstechnik und Pressformen" (04/2024); UL 486A, ninth edition (1997, revisions through May 2001), Table 12.1; all checked on 17 November 2026. The AWG cross-sections are those in the UL table. Klauke lists the 95 mm² DIN lug with an M8 hole as a non-standard bore, so the table shows the M10 version. The newton values are our conversion (1 lbf = 4.448 N).
What the table shows:
- The code number links lug and die. DIN 46235 lugs carry the code number of the die that crimps them. Klauke decodes its marking "KL 20 12 - 120" as: Klauke, die code 20, M12 stud, 120 mm² conductor.
- Bigger cables need more crimps. With narrow 5 mm dies, Klauke recommends 2 crimps on DIN lugs from 6 to 35 mm², 3 at 50 and 70 mm² and 4 from 95 to 185 mm². DIN lugs also show the number and position of the crimps on the barrel. For standard tubular lugs, the number is in the maker's catalogue.
- Mechanical tools reach 150 mm². Klauke's K05D covers 6 to 50 mm², the K06D 6 to 120 mm² and the K09D 25 to 150 mm², all with hexagonal crimps for DIN lugs. The hand hydraulic HK 60/22 covers 6 to 300 mm² with interchangeable dies.
- The pull-out force is a lab value. UL 486A has a tension-testing machine pull on the connection for one minute without jerking; the conductor must not come out. ABYC E-11 (2003 edition) asks for lower values on boats, for example 90 lb (400 N) for 2 AWG instead of UL's 180 lbf. Neither test can be repeated at home with any accuracy. They show the order of magnitude a good crimp holds.
The right die: under-crimp and over-crimp
Klauke's tools illustrate why the die matters. Its K05, K06 and K09 are for standard tubular lugs, the K05D, K06D and K09D for DIN 46235 lugs. A DIN lug has a thicker wall and a larger outside diameter than a standard tubular lug of the same cross-section, so the dies differ even though both are "35 mm²". Klauke's technical guide describes what happens when they are mixed up:
- Under-crimp: a tubular lug crimped in a die for DIN lugs is not compressed enough. You can spot it: the barrel stays almost round, and the marking is only faintly embossed. The same happens when the tool does not have enough force and does not close.
- Over-crimp: a DIN lug crimped in a die for tubular lugs forms a sharp burr. It can cut the heat shrink, and filing it off reduces the cross-section. The strands can be damaged by the excess force.
- The check: on a tubular lug, the cross-section embossed into the hexagon must match the one stamped on the palm. On a DIN lug, the embossed code must match the code on the lug.
Klauke adds that a crimp is hard to test without destroying it, and recommends redoing any joint you are unsure about.
Mechanical or hydraulic? Klauke writes that compact mechanical crimpers suit small to medium cross-sections and that a hydraulic tool with interchangeable dies is usually the better choice for large ones. Current electro-hydraulic tools warn with a light and a sound when the crimp pressure was not reached; good mechanical tools have built-in mechanisms that ensure a complete crimp. ABYC E-11 requires a crimp tool designed for the connector used, and Victron's Wiring Unlimited asks for a special crimping tool for cable lugs. Whatever the tool, it has to match the lug and close the dies completely.
Crimping a battery cable lug step by step
- Check the parts. The size on the lug matches the cable, the hole matches the stud, the die matches the lug (code number or cross-section). Klauke also asks for dies that are clean, undamaged and bright metal in the profile.
- Slide the heat shrink on. Put a piece of heat shrink onto the cable now. Once the lug is on, it may not fit over the palm.
- Strip. Strip about 10 % longer than the insertion depth of the barrel, because the lug gets about 10 % longer when it is crimped (Klauke). Do not nick or cut strands. Up to 16 mm², an automatic stripper such as the Knipex PreciStrip16 does the job; Knipex rates it for 0.08 to 16 mm².
- Clean and insert. Klauke asks for clean conductor ends. Push the conductor in until it reaches the full insertion depth. Lugs with an inspection hole show whether the strands have arrived at the end of the barrel.
- Crimp from the palm towards the cable. Klauke puts the first crimp on the palm side and the next ones towards the cable, so that the material can lengthen without cracking. Use the number of crimps marked on the lug or given in the maker's table, 2 for a 35 mm² DIN lug. Carry on each crimp until the dies have closed completely; the full compression is only reached at the end of the stroke.
- Inspect. The code or cross-section must be clearly embossed and match the lug, the barrel must show a clear hexagon, there must be no sharp burr, and no strands may stick out. A barrel that is still almost round has been under-crimped.
- Pull test. Victron recommends giving each crimped wire a tug to make sure the terminal is secure. For a battery lug, hold the lug firmly and pull hard on the cable: nothing may move or slip. This is a plausibility check, not the lab test from the table. If anything moves, cut the lug off and start again with a new one.
- Insulate. Shrink the heat shrink over the barrel and the start of the cable insulation. ABYC E-11 requires the shanks of terminals to be protected against accidental shorting with insulating barriers or sleeves (earthing conductors excepted), and Victron says to add insulation to uninsulated lugs. Where it gets wet, our IP ratings and waterproofing guide explains how to seal the joint.
- Mount. Victron's order on the bolt: the lug flat on the mounting surface, nothing such as washers or fuses between lug and surface, then washer, spring washer and nut, tightened to the torque in the device manual. Leave some slack: Victron writes that tight cables and vehicle vibration loosen terminals over time.
- Check under load. Victron suggests running the system at full load and checking cables and connections with a thermal camera. A badly crimped lug shows up as a warm spot.
Soldering battery cable lugs
Solder does not replace the crimp. ABYC E-11 (2003 edition) states that solder shall not be the sole means of mechanical connection in any circuit. Where a joint is soldered, it has to be supported, because the solder turns the flexible strands into a solid piece and the conductor can break where the solder ends. The standard makes one exception: battery lugs with a solder contact length of at least 1.5 times the conductor diameter. Victron also advises against cables whose strands are soldered together in screw terminals, unless the terminal is made for it, because the contact can become poor and loosen.
Plan every cable end in your diagram
Every cable in a camper or boat has two ends, and each needs the right lug. In the free VoltPlan diagram editor you draw battery, fuses, inverter and loads; VoltPlan sizes the cable for each circuit, so you know which lugs to buy before you start crimping. The fuse size calculator gives the fuse that protects each cable, and our guides on fuse sizing and placement, wiring an inverter and wiring 12 V batteries show where the heavy cables run.
FAQ
Which crimp tool do I need for battery cable lugs?
One that is made for your lug type and cable size and closes the dies completely. Klauke offers mechanical crimpers for DIN 46235 lugs from 6 to 50 mm² (K05D), 6 to 120 mm² (K06D) and 25 to 150 mm² (K09D), and the hand hydraulic HK 60/22 for 6 to 300 mm². For large cross-sections, Klauke recommends a hydraulic tool with interchangeable dies.
Which die do I use for a 35 mm² cable lug?
It depends on the lug. A 35 mm² compression lug to DIN 46235 takes the die with code number 12, which is also embossed on the lug. A standard tubular lug takes its maker's 35 mm² die. The two dies are not interchangeable: Klauke describes an under-crimp in one direction and an over-crimp with a sharp burr in the other.
How many times do I crimp a cable lug?
As often as the lug's marking or the maker's table says. With 5 mm dies, Klauke recommends 2 crimps on DIN 46235 lugs from 6 to 35 mm², 3 at 50 and 70 mm² and 4 from 95 to 185 mm². Start at the palm end and work towards the cable.
How do I test a crimped cable lug?
Look first: the embossed code or cross-section is clear and matches the lug, the barrel shows a clear hexagon and there is no burr. Then pull firmly on the cable while holding the lug; nothing may move. For reference, UL 486A requires a connection on 2 AWG cable to withstand 180 lbf (801 N) for one minute in a test machine. If in doubt, Klauke recommends redoing the joint.
Can I solder battery cable lugs instead of crimping them?
Not as the only connection. ABYC E-11 (2003 edition) states that solder shall not be the sole means of mechanical connection, because the soldered part of a stranded cable becomes stiff and can break where the solder ends. The standard allows soldered battery lugs only with a solder contact length of at least 1.5 times the conductor diameter.
Do AWG lugs fit metric cable?
Not reliably, because the sizes differ: 2 AWG is 33.6 mm², 1/0 AWG is 53.5 mm², while metric cable comes in 35 and 50 mm². Buy lugs for the cross-section printed on the cable and crimp them with the die their maker specifies.
This article was created with the assistance of AI.
Ready to Design Your Electrical System?
Use VoltPlan's free electrical system designer to turn these concepts into reality.
Start Your Project